Step-by-Step Guide to Installing a Media Wall in Your Home
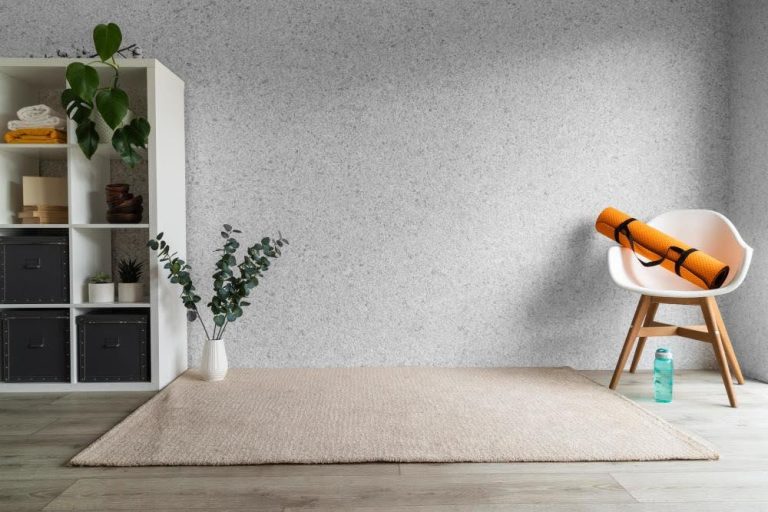
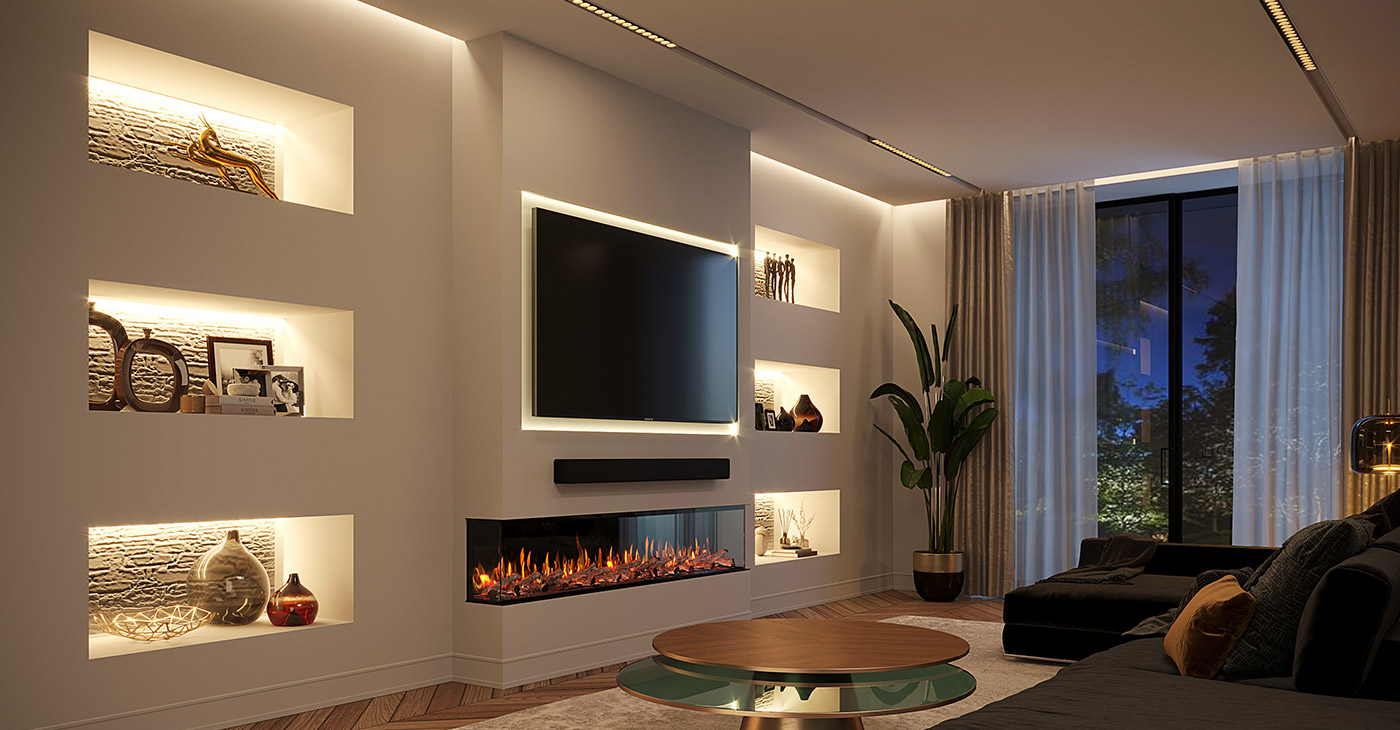
Installing a media wall in your home can transform your living room or home theater into a stylish and functional space. These custom installations offer a sleek way to organize and display your television, sound systems, and other entertainment devices. In this step-by-step guide, we will walk you through the process of installing media walls in your home, ensuring you get the most out of your space while enhancing your home’s aesthetic.
1. Plan Your Space and Design
Before starting the installation process, take the time to plan your space. Consider the following factors:
- Room Size: Measure the space where you plan to install the media wall to ensure it will fit perfectly.
- Viewing Distance: Think about the distance between the seating area and the TV. This will help you determine the optimal size of your TV and the placement of other equipment.
- Aesthetic: Choose materials and finishes that match your existing décor. Media walls come in a variety of styles, from minimalist designs to more luxurious, built-in options.
Once you have a clear vision of the space and style, start designing your media wall layout. If you’re unsure about the design, you can consult professionals who specialize in media walls to help you create the perfect setup for your needs.
2. Gather the Necessary Tools and Materials
To get started, you’ll need a few basic tools and materials:
- Measuring tape: For accurate measurements of your space and equipment.
- Level: To ensure your TV and other elements are aligned perfectly.
- Screws and anchors: Depending on the weight of your equipment, you may need heavy-duty screws or wall anchors.
- Power tools: A drill, screwdriver, and saw (if necessary) to install the media wall and cut materials to size.
- Construction materials: Depending on your design, you may need wood, drywall, or MDF to build the structure of the wall.
Make sure all your materials are ready before you begin, so you won’t need to make unnecessary trips to the hardware store during the installation process.
3. Mount the TV Frame
The first major step is to mount the frame for your TV. This is the foundation for your media wall and will support not just the TV but also any other devices, such as speakers or consoles. Here’s how:
- Find the studs in the wall: Use a stud finder to locate the studs in your wall. These will provide the necessary support for mounting the TV frame securely.
- Mark the placement: Measure and mark the exact location for the TV on the wall. The TV should be positioned at eye level for optimal viewing.
- Attach the frame to the wall: Use a drill and screws to secure the TV frame to the wall. Make sure it’s level before tightening the screws to avoid any tilting.
Once the frame is securely attached, you can proceed to mount the TV on the frame, following the manufacturer’s instructions for wall-mounting the television.
4. Install Shelving and Storage Units
Next, install the shelves or storage units that will hold your entertainment equipment. Media walls often include built-in storage for items like gaming consoles, Blu-ray players, and remotes. Here’s how to install the shelves:
- Measure and mark: Decide where you want to place each shelf. Make sure the shelves are spaced evenly and are at the right height to accommodate your devices.
- Attach the shelves: Use a drill and screws to attach each shelf to the media wall frame. If you’re using floating shelves, make sure they are properly anchored to the wall.
- Arrange your devices: Place your entertainment devices on the shelves, ensuring everything fits neatly and is easily accessible.
If your design includes cabinets or drawers, ensure they are securely attached and allow for easy access to all your equipment.
5. Add Electrical and Cable Management
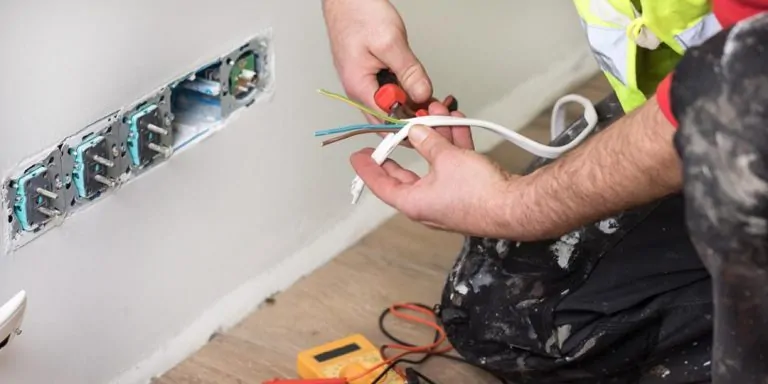
One of the key benefits of installing a media wall is reducing clutter. To achieve this, integrate electrical outlets and cable management into your design. Here’s how to do it:
- Install power outlets: If you don’t have accessible outlets behind your TV, you may need to install power outlets or extension cords inside the media wall. This will provide power to your TV, sound system, and other devices without the need for visible cords.
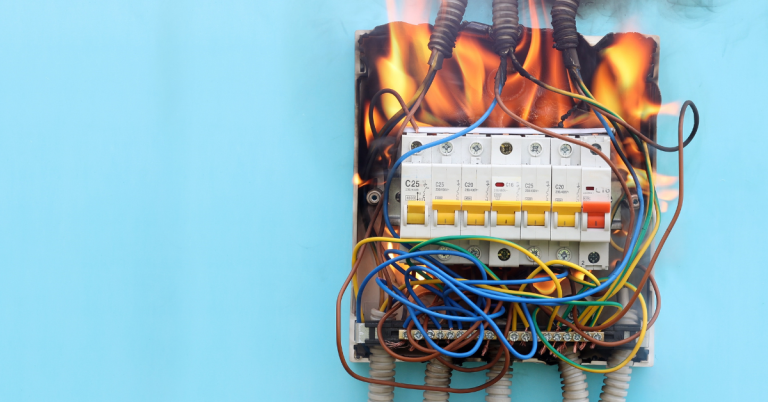
- Use cable management systems: To keep cables organized, install cable trays, clips, or conduits inside the wall or behind shelves. This will hide all the wires and give your media wall a clean, clutter-free appearance.
By managing your cables effectively, you’ll keep everything tidy and prevent cables from hanging out or tangling.
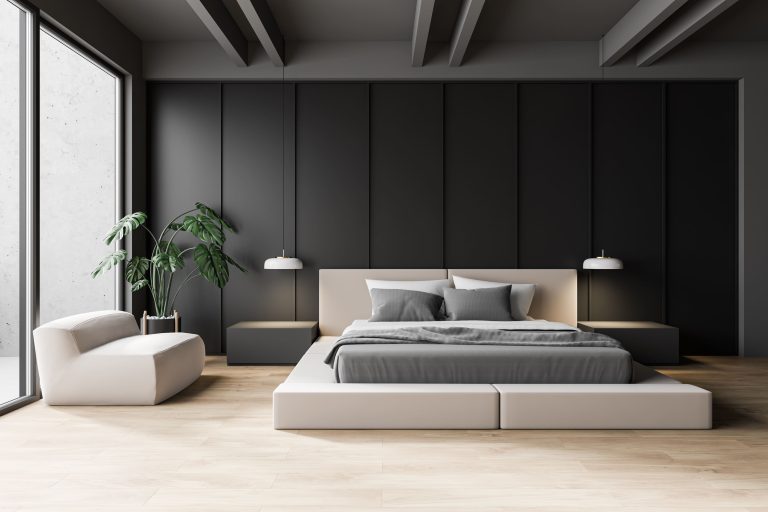
6. Add Final Touches
Once your media wall structure is in place, it’s time to add the finishing touches:
- Decorative accents: Consider adding decorative elements such as artwork, LED lighting, or shelves for books and plants. These small details can enhance the overall look of the media wall and complement your living room décor.
- Lighting: Installing built-in LED lights can add ambiance to the space and highlight your media wall as a focal point in the room.
- Sound system: If your media wall design includes a built-in sound system, ensure your speakers are properly installed for optimal sound quality.
These final touches will not only enhance the functionality of your media wall but also elevate the overall design of the room.
7. Test Your Setup
After completing the installation, it’s time to test your media wall. Turn on your TV, sound system, and other devices to ensure everything is working properly. Check that the TV is securely mounted and that there are no loose wires. Also, test the cable management system to make sure everything is organized and free from clutter.
If needed, make any adjustments to the positioning of your equipment or shelving to optimize the functionality and appearance of your media wall.
Conclusion
Installing a media wall in your home can be a rewarding project that elevates your living room or home theater. With the right planning, materials, and tools, you can create a stylish and functional space that enhances your entertainment experience. By following this step-by-step guide, you’ll have a sleek and organized setup that perfectly complements your home décor and provides an immersive media experience for years to come.